


5 Electric Massager Techniques to Relieve Muscle Knots After Training
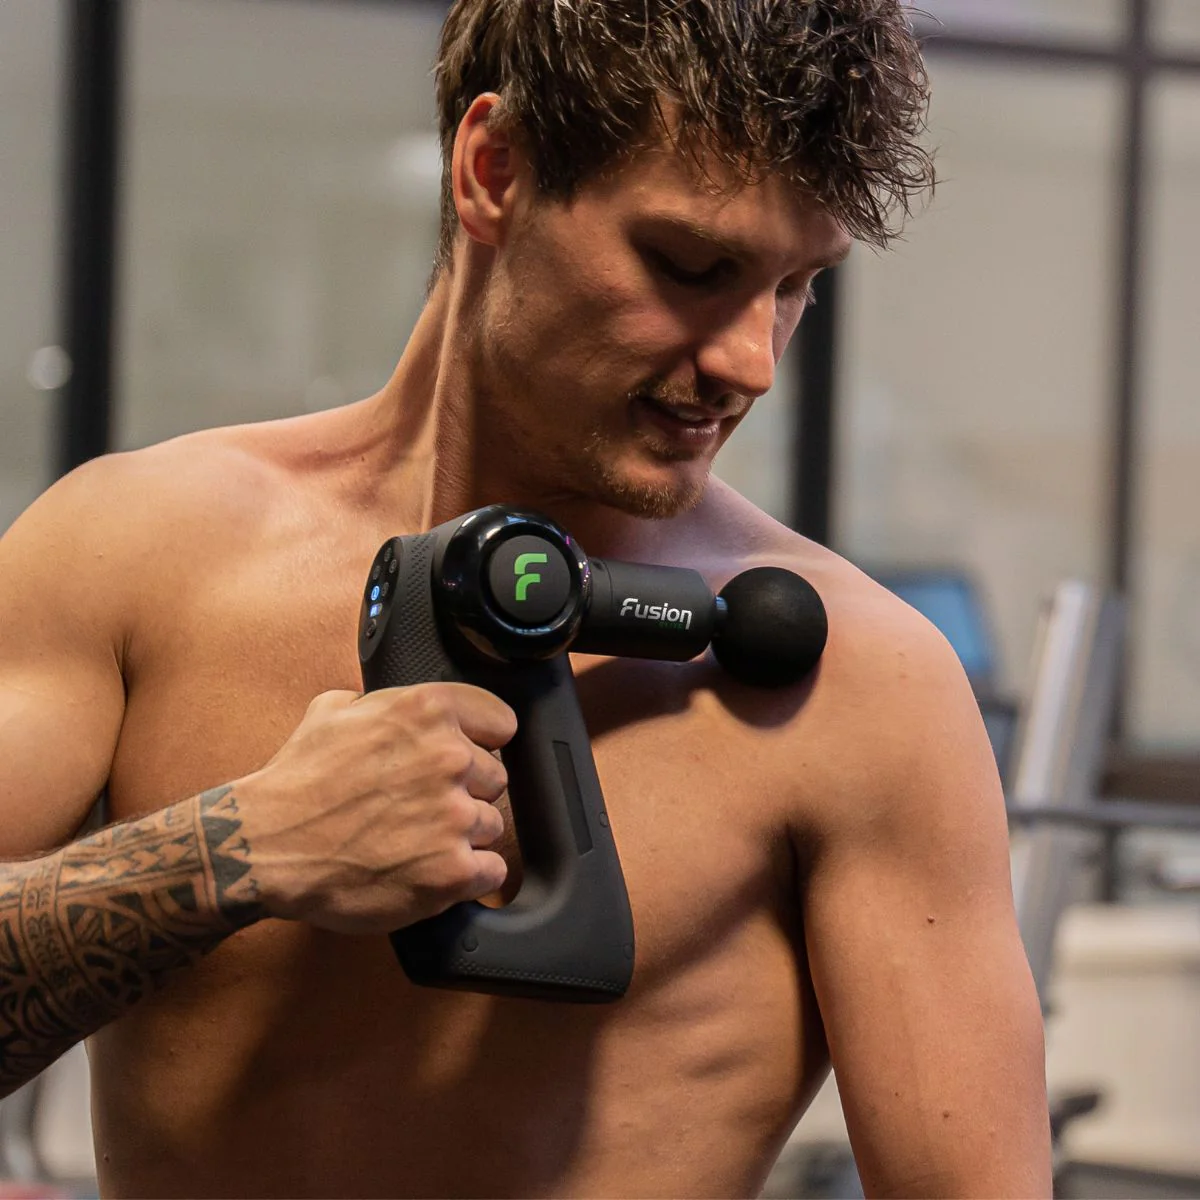
That hard lump in your trap after heavy deadlifts. The stubborn tightness in your calf after sprint intervals. The "rope" running down the side of your neck after a long desk day. These are muscle knots — technically called myofascial trigger points — and they're the #1 complaint athletes bring to massage tables.
The good news? You don't need a $150/hour therapist to deal with them. With the right electric massager techniques, you can break up knots at home in minutes. Here are five proven methods, broken down by body region.
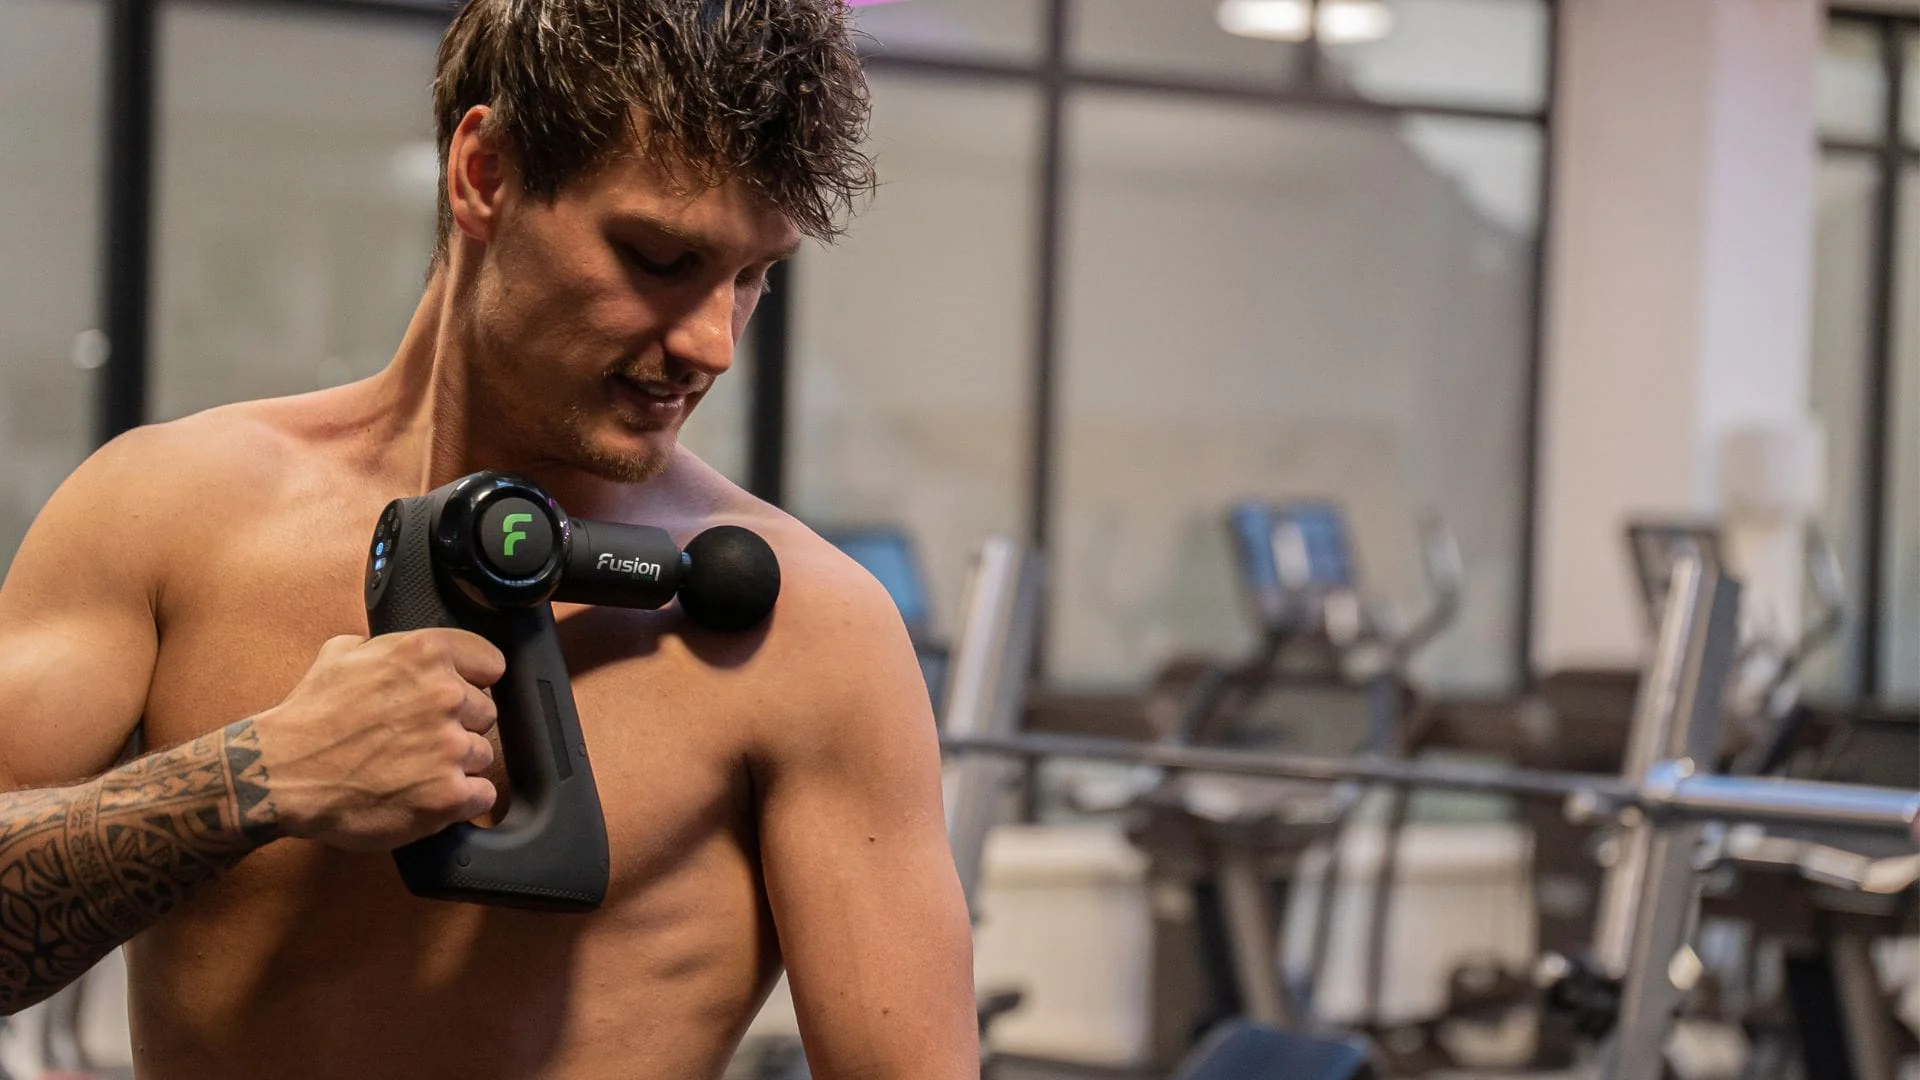
Know Your Speeds First
Before diving into techniques, match your handheld massager speed to the situation:
Low (1200–1600 RPM)
Sensitive areas, warm-up, relaxation
Medium (1600–2400 RPM)
General recovery, moderate knots
High (2400–3200 RPM)
Deep knots, large muscles only
The Trap Release
The upper traps are the most common knot location for lifters and desk workers alike. This technique uses the ball head at low-to-medium speed to gently "melt" tension without aggravating the sensitive neck area.
Step-by-Step
Use the ball attachment on speed setting 2 (low-medium)
Start at the base of your neck where the trap meets the shoulder
Slowly glide upward along the muscle belly — never go above the C7 vertebra
When you find a tender spot, hold in place for 10–15 seconds — don't move
Repeat 2–3 passes per side, then switch
Pro tip: Tilt your head slightly away from the side you're treating — this puts the trap under gentle stretch and makes the knot more accessible.
The Quad Sweep
After heavy squats or leg presses, your quads can feel like concrete slabs. This sweeping technique covers the entire quad group — rectus femoris, vastus lateralis, and vastus medialis — in one fluid motion.
Step-by-Step
Use the flat head attachment on speed setting 3–4 (medium-high)
Start just above the knee and glide slowly upward toward the hip
Follow three tracks: center, outer edge, inner edge
Spend extra time on any "lumpy" areas — these are your knots
30–45 seconds per track, then switch legs
Pro tip: For the back pain relief that originates from tight quads pulling on the pelvis, focus extra time on the rectus femoris (center track) — it's the only quad muscle that crosses the hip joint.
The Calf Dredge
Calves are notoriously stubborn when it comes to knots — the tissue is dense, and most people skip calf recovery entirely. This "dredging" technique works deeper over multiple passes to gradually break up adhesions.
Step-by-Step
Use the bullet head on speed 2–3 (medium)
Sit with your leg extended or knee slightly bent
Start at the Achilles tendon and work upward in 1-inch segments
At each segment, make small circles for 5 seconds before moving up
Do 3 full passes — each one should feel slightly less tender
Pro tip: Point your toes toward you (dorsiflexion) while treating the upper calf — this stretches the gastrocnemius and exposes deeper tissue layers.
The Glute Unwind
Tight glutes don't just feel awful — they can cause lower back pain, sciatica-like symptoms, and limit your squat depth. This technique targets both the large glute max and the deeper piriformis muscle beneath it.
Step-by-Step
Use the fork head (or ball head) on speed 3 (medium)
Cross the treated leg over the opposite knee (figure-4 position)
Start at the center of the glute and work outward in a fan pattern
For the piriformis, target the area just below the hip dimple
Hold on tender spots for 10 seconds — breathe deeply
Pro tip: If you feel tingling down your leg during glute work, you're near the sciatic nerve — move slightly to the side and reduce pressure immediately.
The IT Band Tame
The IT band isn't actually a muscle — it's a thick band of connective tissue. You can't "knead" it like muscle, but you can use your electric massager to release the muscles that attach to it (TFL and glute max), which takes tension off the band itself.
Step-by-Step
Use the flat head on speed 2 (low-medium) — never high speed on the IT band
Focus on the top attachment point near the hip (TFL muscle)
Then work the bottom attachment just above the knee
Avoid the middle section — it's too thin and bony for direct percussion
Finish with gentle long strokes from hip to knee
Pro tip: IT band pain is often caused by weak glutes, not tight IT bands. Combine this technique with glute strengthening exercises for lasting relief.
When to Stop Immediately
If you feel sharp pain (not just "good" tenderness), numbness, tingling, or if the area bruises — stop. Never use a massager on fresh injuries, swollen areas, blood clots, or directly over bones and joints. When in doubt, consult a physical therapist.
Need the Right Tool for the Job?
Our electric massagers come with 4–6 interchangeable heads designed for every technique above. Free shipping on all orders.
Shop Electric Massagers →


